|
Triumph Spitfire Body Work The More You Look, The More You Find |
Jump to page-1, the Spitfire Bodywork page of the car.
THIS IS page-2, the Paint page for the next story on this project.
Jump to page-3, the Paint-Pics for more painting details.
Jump to page-4, the Finish page for the final story on this project.
As in many projects, they get set aside sometimes, so this one suffered the same fate. Other things took precedence and the car was easily shoved to a corner and collected boxes and whatever came in the garage. The rescue came about and finally the painting was applied after a vigorous wave of bodywork touch-ups. September 2015 was the time to paint, for July and August had too much humidity to trust a good dry spell for the compressor.
After numerous patches of minor dings and scratches, it took four complete body shots of primer - sanding - patching - more sanding to get all the major refinements. Then four shots of primer - sanding to get the finish smoothed to hide all the feathering and spray patterns. It is not perfect in any way, but looks much better than the starting place, and good enough for a sporty beach car. This one is not intended for show, but the whole project is to get a useable and efficient auto for city driving and beach bum activities, and a tinker toy for experiments.
The final color selection came to a shocking roadblock of pure wheeling-dealing salesmen in several establishments asking for multi hundreds per pint of paint. Being a conservative tinkerer, it was refused as absurdly gouging my budget. You can get white - black - red - blue -gray finish for about $40 a pint, taking two pints might give two coats, but any color that they mix will be per pint at least $180 + $75 for hardener and $40 for thinner. That smells like fishy water to me, and the generic colors are self hardening. So there is obviously something that this tinkerer is not educated on, or this business field is under some kind of price fixing scheme.
So in standard conservative form, my approach is to ignore the paint price fixers and do it cheap my own way. I could get the generic colors and blend something of my own, but instead, a touch of silver was added to the primer and two coats were applied. Essentially the finish is a light gray primer mat color that might get painted some other day in the far future. For now, the paint job is finished and the car is getting reassembled. An advantage is that any dings can be patched, but it still looks decent for driving, and eventually the right color scheme will be found.
In thinking of a biblical story; whenever God's presence was near the Tabernacle in the desert, a cloud was over the camp. When the cloud was removed, they broke camp and traveled to a new site. So this car is now the color of silver gray, so it will be a Torah Cloud to me, though not large enough to cover a camp, but mobile enough to cover the nation.

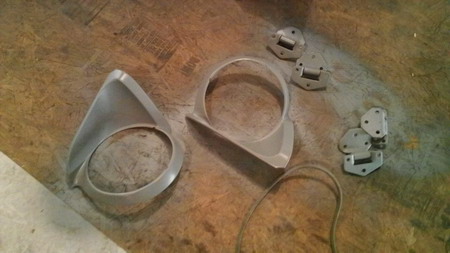
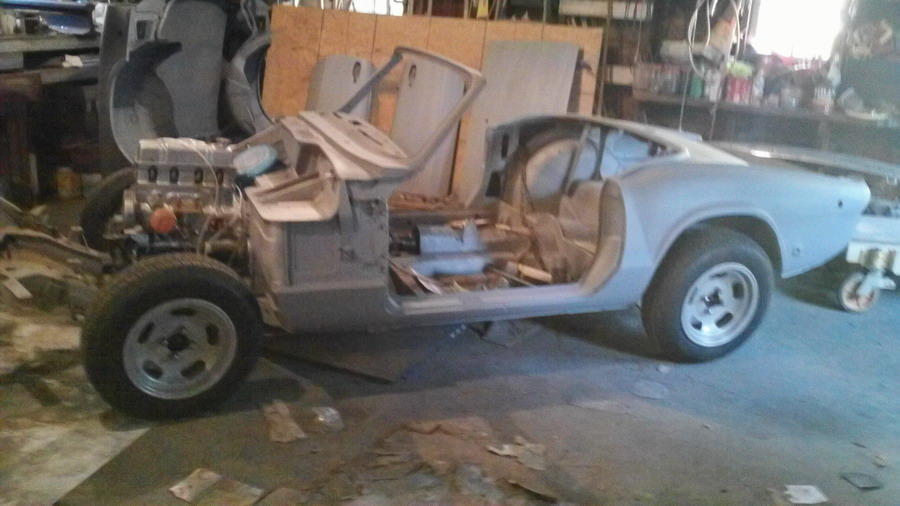
Here is the inside of a door panel with a lot of paper covering the window. Then just the door hinges and headlight shrouds were painted to get all exposed areas. (hopefully)
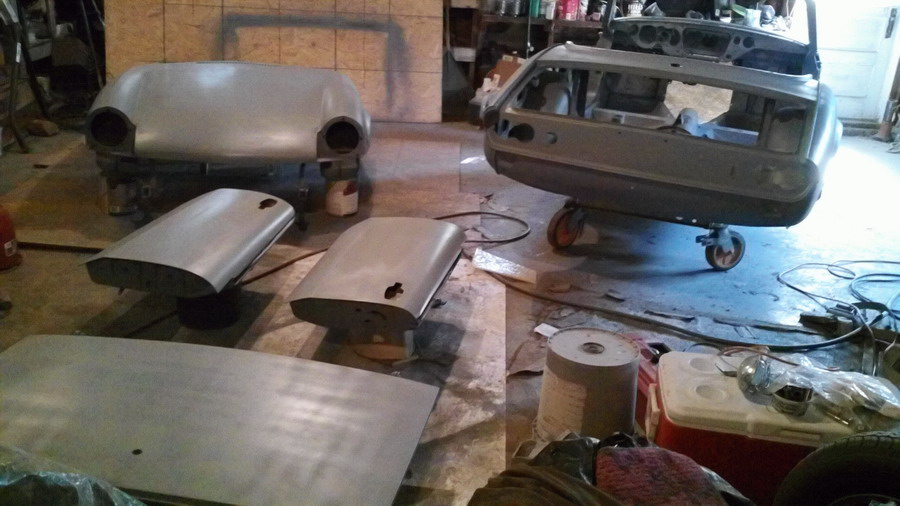
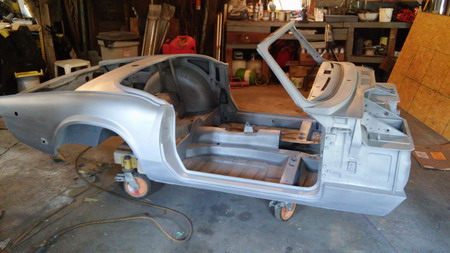
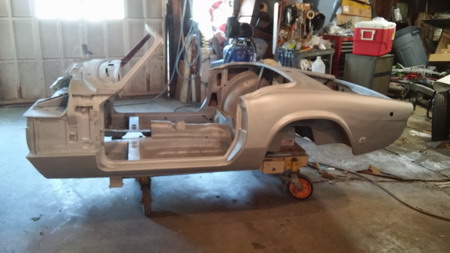
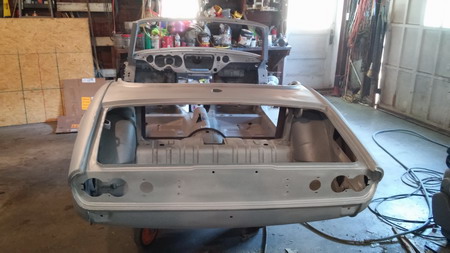
My garage was taken over for almost two weeks by this portion of the painting. With body on a wheeled cart and other things on buckets, it was all accessible. Everything in the garage ended up with a fine mist of gray, so my truck and tractor were outside the whole time. Here shows the body, doors, hood, and trunk lid. Notice the lid has paint patterns. they all had that effect, and that was sanded out between shots with 240 grit, then wiped down before the next shot. Each layer got a better finish as the gun was adjusted for a wetter layup, but there were always some measure of painting pattern visible. In the final shots, the grit was 400 and the last shot was just buffed. This is a back-yard project, not always using professional methods!
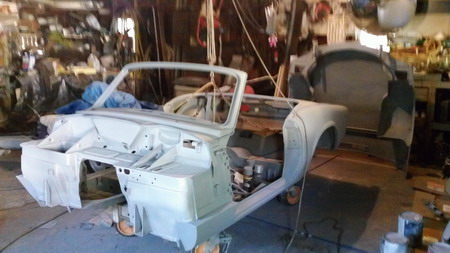
The ~300lb body is rigged on a pulley to a pole across the ceiling joists. The body was unscrewed from the cart and pulley was drawn up by attaching the rope to my truck, and lifting to the necessary height. Then the frame was moved over to the closest position.
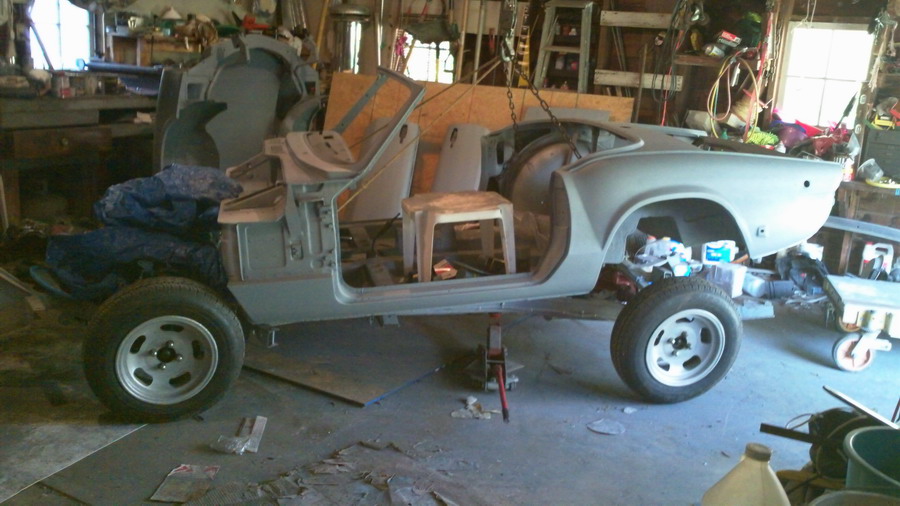
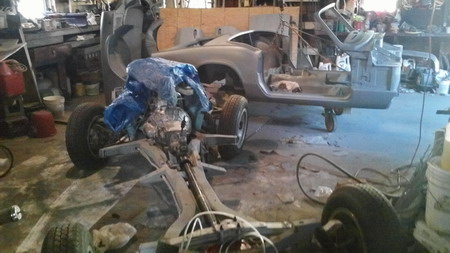
The frame was positioned in front, and notice the jack with wheels that lifted the back end so it could scoot sideways under the body. This actually worked very easily and quickly. Then backing up the truck lowered the body to the frame.
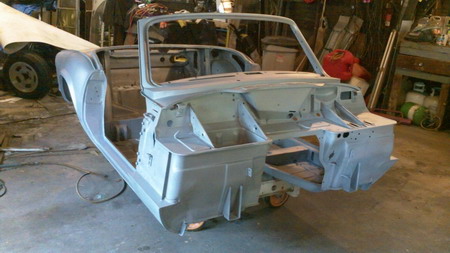
Here are the matched body and frame, and it is starting to look like a car again. Just a couple hours were needed to bolt everything together with the proper spacers in place and suitably torque all the bolts. Now the garage has room for my truck and tractor again, and still plenty of space to work on the car.
(what bliss!)
Jump to page-1, the Spitfire Bodywork page of the car.
THIS IS page-2, the Paint page for the next story on this project.
Jump to page-3, the Paint-Pics for more painting details.
Jump to
page-4, the
Finish page for the final
story on this project.
Referring the Theorybin website to your friends is a
compliment to this work!